How to Set Up Facebook Pixel: Complete Installation Guide
Imagine running Facebook Ads at scale, spending thousands, yet lacking the ability to distinguish which clicks turned into real business. That is what many advertisers face today without a properly configured tracking code. With data privacy changes and evolving ad platforms, having a solid pixel setup is no longer an option; it’s mission-critical for conversion tracking, retargeting, and true ad performance tracking.
If you’re considering Facebook Ads Services, setting up the Facebook Pixel properly is the foundation. This blog walks you through an up-to-date, expert-level installation and configuration process so you avoid costly mistakes and set yourself up for growth.
Why the Meta Pixel Must Be Your First Order
Pixel configuration is an equally important issue that we should not overlook after reading the statistics below:
- Up to 40% of small-to-midsize advertisers are not aware of the connection between ad spend and ROI.
- The Pixel is the primary tool for enabling advanced conversion tracking, generating retargeting pools, and creating lookalike audiences.
- A complete or holistic setup of your pixel will help you keep track of the most valuable actions in the case of Apple’s ATT, browser-level tracking changes, and a general movement to server-side infrastructure.
- Companies that have merged their pixel data with ad analytics have been able to achieve a 20-30% increase in ad efficiency over a period of 6 months.
- While some gambling companies in the U.K. have been secretly transferring user data to Meta through their tracking tools, this has raised the issue of pixel usage legality and ethics.
Your ability to optimize, retarget warm users, and monitor campaign health depends on a robust pixel configuration.
Step 1: Create Your Meta Pixel Dataset
- Log in to Meta Business Suite / Events Manager.
- Click “Connect Data” → Select “Web”.
- Choose Meta Pixel and click “Connect”.
- Enter a descriptive name.
- Optionally, input your website URL.
- Click Create, and you now have a Pixel ready to deploy.
This “dataset” naming shift matters because Meta expects pixels to integrate with multiple sources.
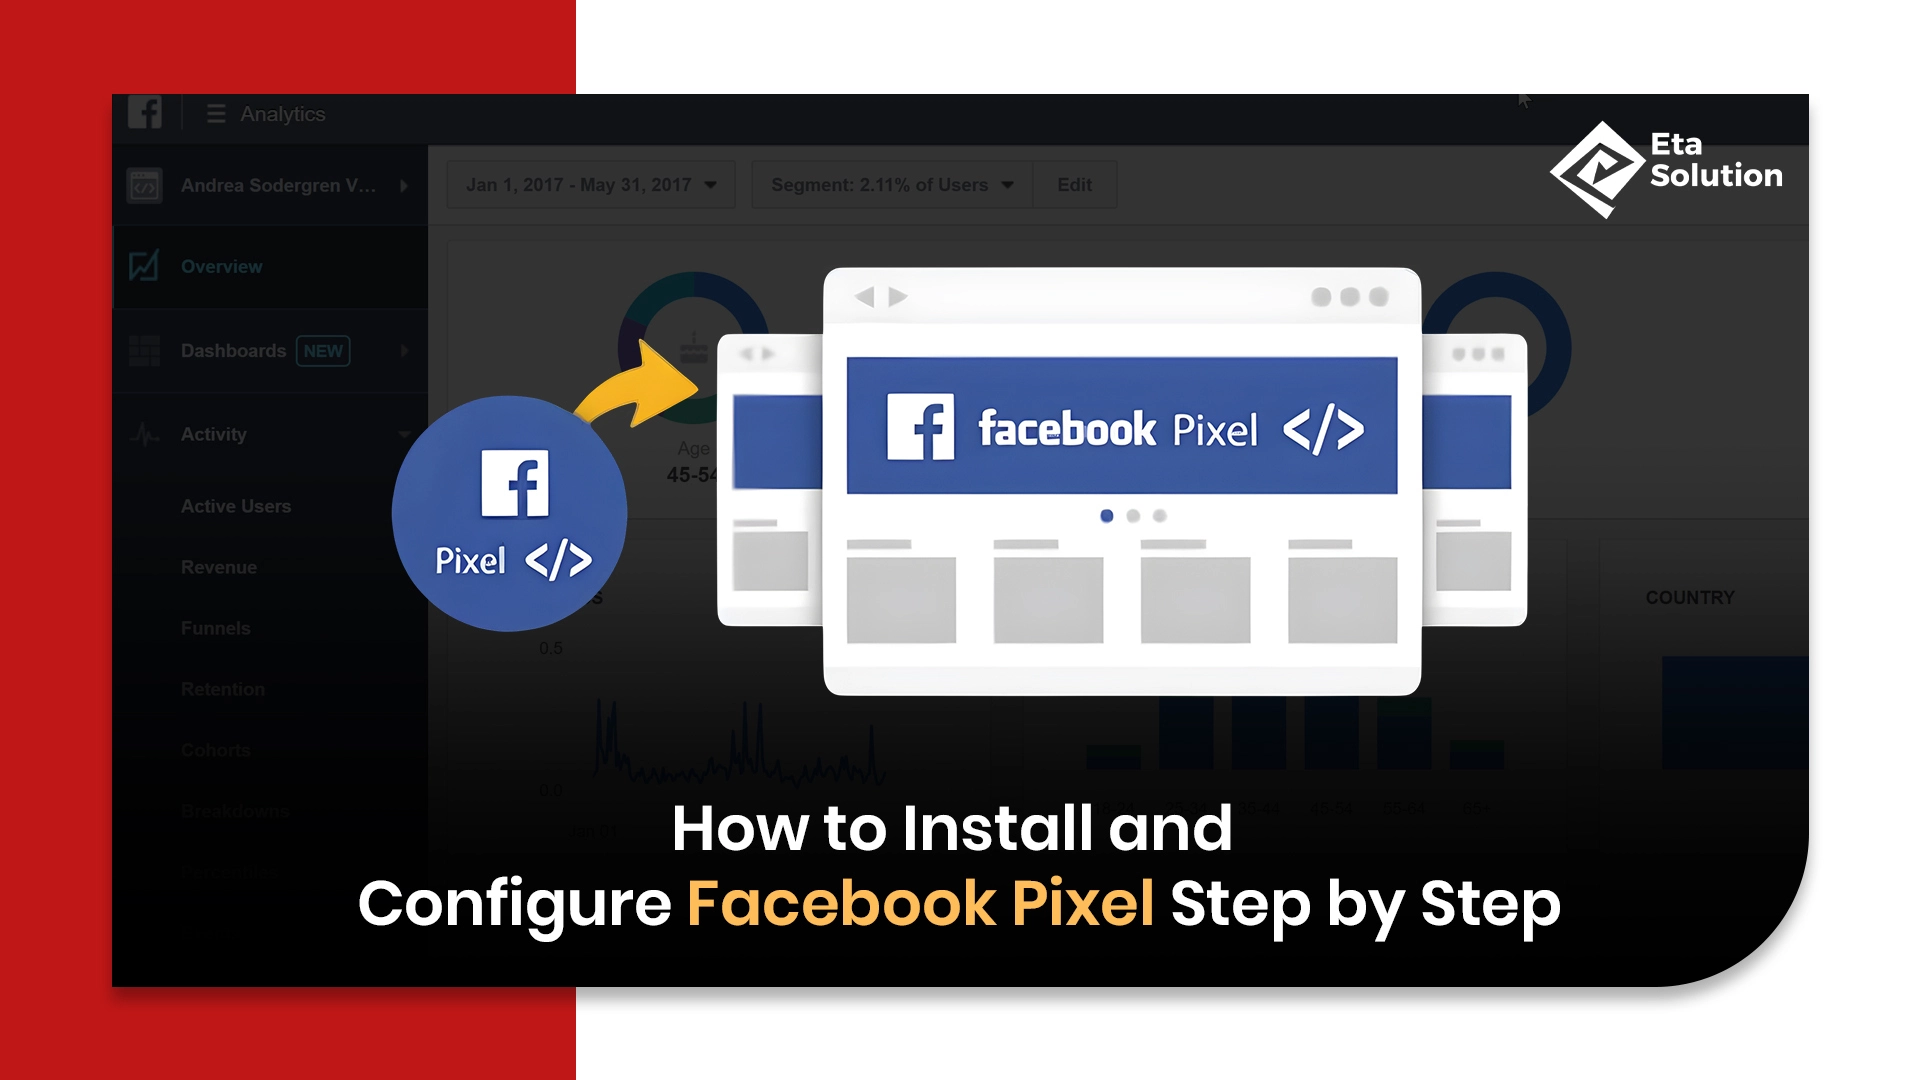
Step 2: Install the Pixel Code
You have three main methods to embed the tracking code, choose based on your platform and resources:
Option A: Manual Code Insertion
- Meta gives you a “base code” snippet in the “Install Pixel” screen.
- Copy that snippet.
- Paste it into the <head> section of every page on your website, ideally immediately before the closing </head> tag.
- Save and publish your changes.
Option B: Partner / CMS Integration
If your site is built on WordPress, Shopify, Wix, Squarespace, or similar, Meta provides ready integrations. These auto-inject the pixel for you.
For example, on Shopify: in the Online Store > Preferences panel, simply paste the pixel ID and enable auto-tracking.
Option C: Google Tag Manager Approach
- In GTM, create a Custom HTML tag.
- Paste the Meta Pixel base code.
- Set a trigger to fire on All Pages.
- Publish the container.
- Use Tag Sequencing to ensure any event tags wait for the base to load.
GTM gives you cleaner management, easier updates, and fewer dev dependencies.
Step 3: Turn on Advanced Matching & Configure Event Tracking
Once the base code is in place, the real power unlocks via events and advanced matching.
Advanced Matching
Meta offers Automatic Advanced Matching, which lets you securely send user data to improve the match rate between site visitors and Facebook users.
Enable this within the pixel settings. Many teams miss this, but it can improve conversion attribution by 10-15 %.
Event Configuration
You can track actions like:
- PageView
- AddToCart
- InitiateCheckout
- Purchase
- Lead, Search, or custom actions
Two routes:
- Event Setup Tool: Use Meta’s UI to click buttons/links and assign them as events, no developer help needed.
- Manual / Custom Code: Place event code snippets around your site. This gives you full context and parameter control.
Be careful not to double-fire events. Always test using Meta’s Test Events dashboard.
Step 4: Test, Validate & Monitor
Before you launch ads, confirm that your pixel is working reliably:
- Use the Meta Pixel Helper Chrome extension
- In Events Manager → Test Events, perform actions and see them recorded.
- Monitor the Data Sources → Pixel Dashboard to make sure a green status appears and recent activity is visible.
- Watch for duplicates, missing events, or delays.
A clean pixel with consistent reporting ensures you don’t misattribute conversions or waste budget.
Real-World Success: Pixel in Action
To illustrate how powerful pixel-enabled campaigns can become:
- In one e-commerce case, a brand reported a 9.68× ROAS and 785 % monthly revenue growth after restructuring campaigns around pixel-based audiences.
- Another CPG campaign achieved 43 % cost savings in a Valentine’s campaign by optimizing formats and placements using tracking feedback.
- A known brand in India used retargeting with pixel data to drive up to 30 % higher purchase frequency within existing customers, something rarely possible without precise tracking.
These wins weren’t luck; they came from rigorous pixel configuration, strong retargeting segments, and constant data-driven refining.
Common Pitfalls & Pro Tips
- Don’t name your pixel “Pixel1” or “TestPixel”; use a name tied to your brand to avoid confusion later.
- Avoid duplicates: If you use GTM + native integration, ensure events are not firing twice.
- Leverage server-side: Pairing pixel + CAPI future-proofs against browser tracking loss.
- Adopt a consistent naming scheme for events to keep ad analytics clean.
- Watch privacy and consent laws: In regions with strict data protection, always guard explicit user consent before firing pixel events.
Why Businesses in Ahmedabad Should Care
If you’re evaluating Facebook Ads Services in Ahmedabad, whether working with a local partner or outsourcing, a thorough pixel setup is often the differentiator between a high-cost lead machine and a finely tuned ROI engine.
A service provider worth its salt will:
- Audit your existing pixel integration
- Correct mismatches, duplicates, and event misconfigurations
- Layer retargeting and lookalike funnels
- Build dashboards to monitor ad performance tracking
Choosing someone who truly understands pixel setup will prevent wasted ad spend and unlock smarter scaling.
Closing Take
You’ve just walked through everything from creating the pixel dataset to event configuration, testing, and strategic optimization. However, the major change is in the thought manner: rather than using gut and guesswork to run your Facebook Ads, your campaigns turn into data-led machines that are always learning, refining, and scaling.
If you do not have a well-designed pixel system, then your ad spending is like operating in the dark. With it, every dollar becomes accountable. Whether you are running campaigns in-house or collaborating with Facebook Ads Services in Ahmedabad, a proper pixel setup is the key to your budget turning into tangible growth and more intelligent targeting.
The subsequent question that you should be asking yourself is: how many of your campaigns are running blindly, and what revenue would you be able to generate if that were not the case?
Yes, you can have multiple Facebook Pixels installed on a single website, although it’s not always necessary. Businesses typically use multiple Pixels when managing different ad accounts, tracking separate conversion goals, or segmenting audiences across various campaigns.
For example, if multiple advertisers or brands share one website, each can use their own Pixel for independent tracking.
However, too many Pixels can slow down your website and create tracking conflicts. To manage multiple Pixels effectively, use Google Tag Manager (GTM) — it lets you insert, organize, and control multiple tracking codes without editing the site’s core files.
To verify whether your Facebook Pixel is installed and tracking properly, follow these steps:
Use the Meta Pixel Helper (Chrome Extension):
Install the free Meta Pixel Helper from the Chrome Web Store.
Visit your website and click the Pixel Helper icon in your browser.
It will show whether the Pixel is active, which events are firing, and any setup errors.
Check in Meta Events Manager:
Go to Meta Events Manager → Your Pixel → Test Events.
Enter your website URL and click “Open Website.”
Perform test actions like page views or purchases; if your Pixel is working, the activity will appear in real-time under Test Events.
If no data appears, double-check that the Pixel code is correctly placed in your site’s <head> section and that the ID matches your Facebook account.
You can create multiple Facebook Pixels through Meta Business Manager (now Meta Business Suite). Each ad account can have up to 100 Pixels, depending on your business structure.
Steps to create a new Pixel:
Log in to your Meta Business Suite.
Go to Events Manager → Connect Data Sources → Web.
Select Facebook Pixel, then click Connect.
Enter a name for your Pixel (e.g., “Website A – Conversion Pixel”).
Enter your website URL and click Continue.
After setup, you’ll receive a unique Pixel ID. You can install this on another site or through a tag manager. For multiple websites or tracking needs, create distinct Pixels for each to keep data organized.
Integrating Facebook Pixel in WordPress can be done easily — with or without plugins:
Option 1: Using a Plugin (Recommended for beginners)
Install and activate the “PixelYourSite” or “Insert Headers and Footers” plugin.
In your WordPress dashboard, go to the plugin settings.
Paste your Facebook Pixel ID or full Pixel code in the designated header field.
Save the changes — the code will automatically be added site-wide.
Option 2: Manual Installation
Copy your Pixel base code from Meta Events Manager.
In WordPress, go to Appearance → Theme File Editor → header.php.
Paste the code before the closing
</head>tag.Save and clear your cache.
After installation, verify the setup using the Meta Pixel Helper extension.
Yes, you can use the same Facebook Pixel across multiple websites, but it depends on your tracking goals. Using one Pixel makes sense if:
The websites belong to the same business or brand.
You want to collect combined audience data across multiple domains.
You plan to retarget visitors from different websites under one ad account.
However, if the websites serve different audiences or businesses, it’s better to create separate Pixels to keep tracking data clean and avoid confusion in analytics.
When using one Pixel for multiple domains, enable cross-domain tracking in the Meta Events Manager to ensure accurate attribution between your sites.

What started as a passion for marketing years ago turned into a purposeful journey of helping businesses communicate in a way that truly connects. I’m Heta Dave, the Founder & CEO of Eta Marketing Solution! With a sharp focus on strategy and human-first marketing, I closely work with brands to help them stand out of the crowd and create something that lasts, not just in visibility, but in impact!

Omnichannel Marketing Strategies for eCommerce Brands

Facebook Ads for Local Businesses: A Complete Guide